Brushes

Brushes

Makeup

Makeup

Accessories

Accessories

Books

Books

Recent Searches

Searching

We are sorry but no results were found

${results.length} Results
Sale
${ flag }
${ product.title } ${ product.compare_at_price | currency } ${ product.price | currency }
${ option.name }: ${ option.value }
Qty:
AUD$${ item.final_price | currencyFromCents } AUD$${ item.compare_at_price | currencyFromCents }
${ item.message }
Shipping & Promotions Calculated at Checkout
Subtotal
AUD$${ cart.total_price | currencyFromCents }
Checkout
AUD$${ wishlist.price | currencyFromCents } AUD$${ wishlist.compare_at_price | currencyFromCents }
Add to Bag

Please sign in or create an account to add items to a wishlist

Sign in / Create Account
Currency
  • $AUD
  • $CAD
  • ¥CNY
  • €EUR
  • £GBP
  • ¥JPY
  • $NZD
  • $USD

LOOK No.2
BELLA ROSA

I really wanted to simplify this not so simple makeup look - no lashes required. I love the impact you can have with just a few precise lines.

STEP 1


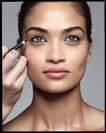
I’m doing the eyes first, so prep the skin and eyes.


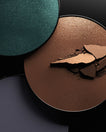
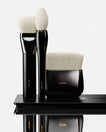
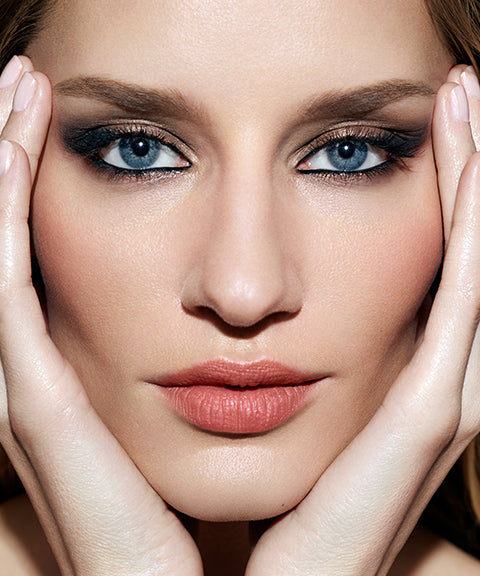
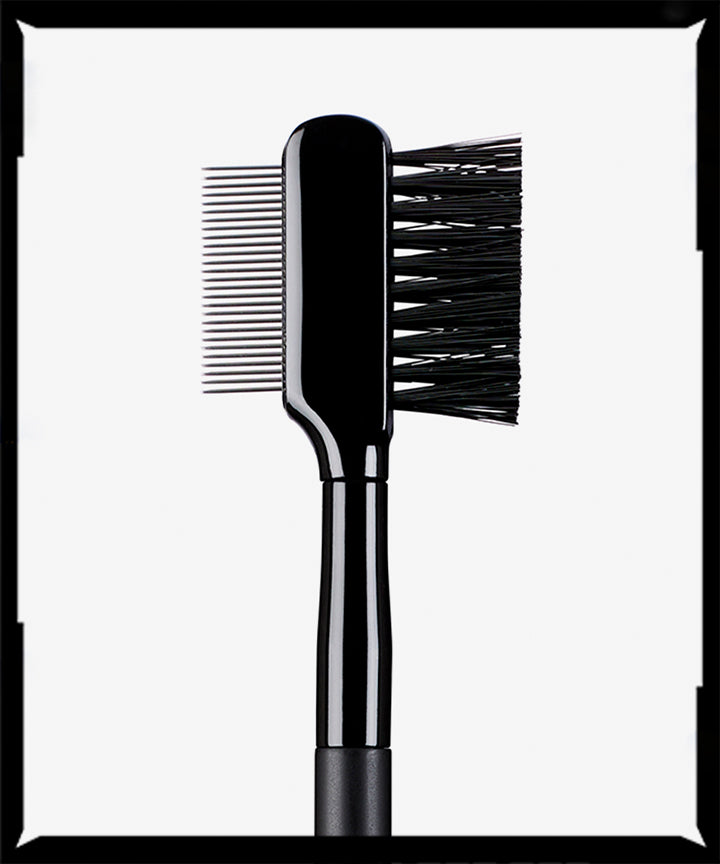
Apply a white eye shadow to the eyelid, just up to the eyebrow bone. Then, using a really fine eyeliner (Precision Eyeliner – Brush No.14), draw a soft socket using a black eye shadow. This is just a stencil to make sure you get both eyes even. The great thing about using eye shadow is that it’s easy to fix.


Use a white, non-waterproof pencil and apply heavily to the inner rim of the eye. This won’t last all night, so it is something you are going to have to touch up.


Using the same eyeliner brush with black eye shadow, draw a fine eye line on the bottom lash line, keeping it as straight as possible.

I was so fortunate to work with Rosie on her first modelling job in Sydney. She came into the studio with her school uniform on, sat in front of me, and I thought ‘Wow, this one will be a star’. She just has this screen siren face, a mix of a little Bardot and a little Twiggy, hence the makeup I chose to do on her for this look.

STEP 2


Using a Bent-Liner (Brush No.15), which helps get super close to the inner corner of the eye, and a Precision Eyeliner (Brush No.14), apply a black gel eyeliner over the top of all the black eye shadow lines you drew in Step 1.


Line your top lash line with the finest eye line possible. Now join the top and bottom lash eye lines.


Curl the eyelashes (use single lashes to fill in any gaps), and apply lots of mascara to the top lashes.

STEP 3 


Apply a second coat of mascara to the top lashes, and also lots of mascara to the bottom lashes. You can even over-mascara them to the point of being clumpy.


Comb the eyebrows and fill in any gaps (where necessary), using a brow shadow that matches your brow hair colour.

STEP 4


Apply a medium coverage liquid foundation all over using a Radiance Brush (Brush No.26), then contour and highlight all over (refer to the Contouring chapter and the Highlighting section).


Using a Deluxe Kabuki (Brush No.1), apply the softest rose crème blush – just a hint, to make your cheeks look naturally flushed, but not like you’re actually wearing blush. And, if there’s a too much shine, use blotting papers to absorb it. You can also lightly powder the T-zone. 


Finish off with a lip gloss that matches your natural lip shade.

STEP 5 (OPTIONAL)


Remove the white pencil from the inner eye rim using a cotton bud soaked in eye drops. There is nothing worse than getting those dry fibres in your eyes, so my secret trick is that whenever you want to remove any eyeliner product from your water llne, dip your bud in an eyedrop. Not only will it help remove the makeup, it will sooth your eyes as well.


Apply a black kohl pencil (non-waterproof) really heavily to the inner eye rims. Then over the top of the white eye shadow, apply a crème brown eye shadow – this will result in a caramel colour. Long lasting crème eye shadows are great because they don’t crease.


Lightly powder the skin to give it a more velvety finish, and refresh the nude lip.

TALENT: Rosie Tupper — AGENCY: IMG — HAIR: Noah Hatten