Brushes

Brushes

Makeup

Makeup

Accessories

Accessories

Books

Books

Recent Searches

Searching

We are sorry but no results were found

${results.length} Results
Sale
${ flag }
${ product.title } ${ product.compare_at_price | currency } ${ product.price | currency }
${ option.name }: ${ option.value }
Qty:
AUD$${ item.final_price | currencyFromCents } AUD$${ item.compare_at_price | currencyFromCents }
${ item.message }
Shipping & Promotions Calculated at Checkout
Subtotal
AUD$${ cart.total_price | currencyFromCents }
Checkout
AUD$${ wishlist.price | currencyFromCents } AUD$${ wishlist.compare_at_price | currencyFromCents }
Add to Bag

Please sign in or create an account to add items to a wishlist

Sign in / Create Account
Currency
  • $AUD
  • $CAD
  • ¥CNY
  • €EUR
  • £GBP
  • ¥JPY
  • $NZD
  • $USD

LOOK No.3
FIRE & ICE

Who says you cannot clash colours? This is my favourite way to compliment a cool toned eye with a warm toned skin. I've accentuated her beautiful eyes by keeping the 'blue' super close - this way you can play with colours that would otheriwse clash elsewhere.

STEP 1


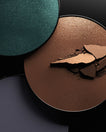
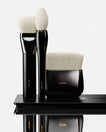
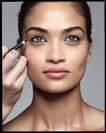
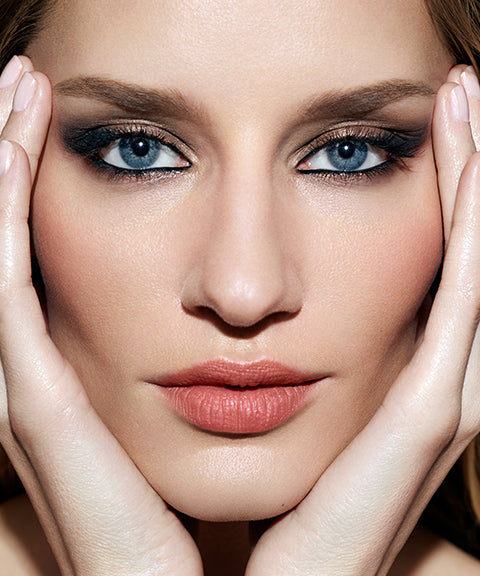
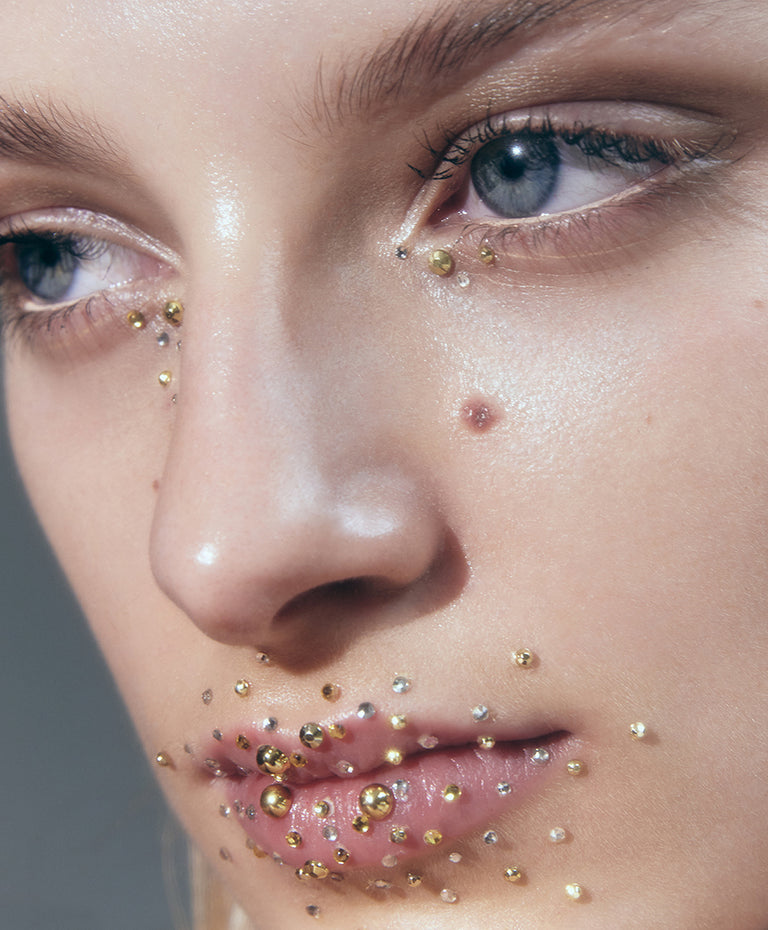
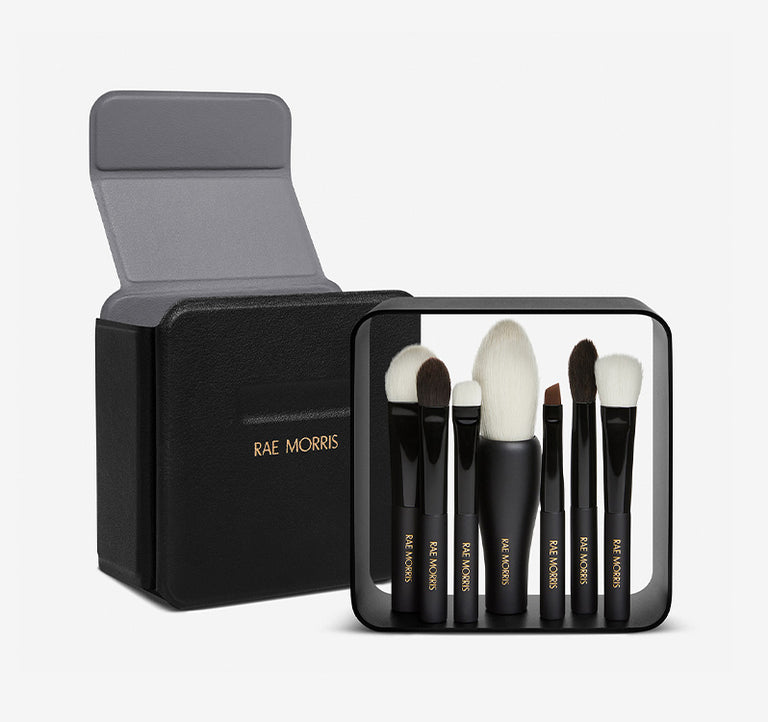
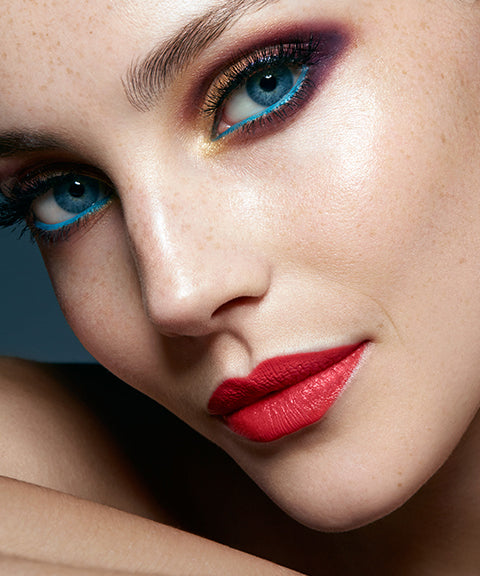
Prep the skin and powder the eyes. Take a gold eye shadow and, using a Deluxe Oval Shadow (Brush No.10), apply to the eyelid, just up to the eyebrow bone. Keep the shape rounded.


Then, using a Detail Point Shader, (Brush No.9), apply the gold eye shadow about one third of the way along the lower lash line, starting at the inner corner of the eye. Don’t extend along the whole lash line.

I was having a ‘Let’s go crazy’ makeup kind of day. I had just completed two very fresh clean makeup looks during the day, and then Vanessa walked in. All I could think was, ‘I hope you like lots of makeup, because there is no escaping the colours I want to use on you’. I love burgundy eye colours, but you have to be careful as you can make your eyes look sore. It was important for me to apply the colour until it looked jewel-like. Just when she thought I had used enough colour… well, just look at her next look… enough said. Vanessa is Brazilian but is now based in New York. Vanessa has done campaigns for both MAC and Sephora.

STEP 2


Using a matt aubergine eye shadow on a Detail Point Shader (Brush No.9), intensify the remaining outer two-thirds of the lower lash line, the outer third of the upper lash line, and then with the remainder of shadow left on your brush, create a soft socket.


PRO TIP 

If you have trouble blending, pick up the first brush you used (Deluxe Oval Shadow – Brush No.10) with the gold eye shadow to help blend.

STEP 3


Take a dark violet eye shadow and go over the matt aubergine colour from Step 2 using a Detail Point Shader (Brush No.9).


Using a wet cotton bud, clean up any fallout, or you can use a makeup wipe. This is also a good time, if you have dry eyes, to use eye drops as the following steps are quiet dramatic. There is nothing worse than completing your eye makeup then needing eye drops which may run and smudge your makeup.

STEP 4


Apply a full lash and then apply a black liquid gel eyeliner really close to the lash line – mainly to hide the base of the eye lash.


Apply liquid foundation all over.


Contour and highlight (refer to the Contouring chapter and the Highlighting section). Then finish with a nude lip gloss.

STEP 5 (OPTIONAL)


Heavily line the inner waterline with a pale blue matt pencil. 


Using a Precision Bent-Liner (Brush No.15), apply gold eye shadow to the inner corner ‘V’ of the eye. Then, using a Medium Point Shader (Brush No.8), intensify the socket and the outer lash line. 


Finish off with a matt hot orange lipstick. 

TALENT: Vanessa Cruz — AGENCY: One Management — HAIR: Tyler Laswell